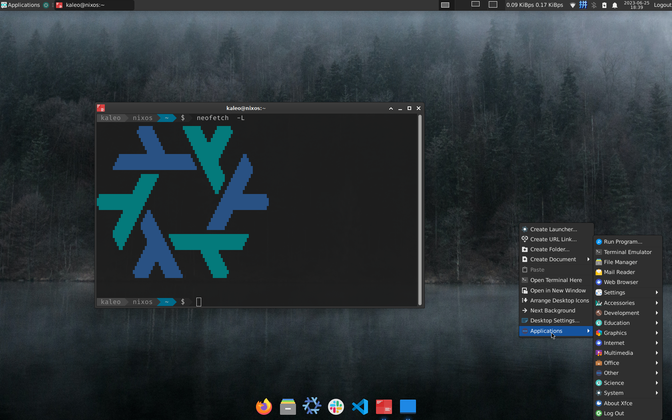
使用 Home manager 管理 Workspace
6月 21, 2023 tech nix post我持续使用 NixOS 大约四年了,并且一直使用全局的 configuration.nix 来管理所有的软件包和系统配置。但是它没办法管理用户级别的配置,比如 /home/kaleo 下的 bash 配置。因而我一直使用一些自己写的 shell 脚本来管理这些配置文件,俗称 dotfiles。由于我的日常工作会在 macos 和 linux 之间进行切换,我也在脚本里面加了一些逻辑来针对不同平台 apply 不同配置。这套脚本一直勤勉地工作着,直到我发现了 Home Manager。
Home Manager 也是使用 Nix 构建的,也就是说它的管理逻辑和 NixOS 的 configuration.nix 如出一辙。但它针对的场景是用户级别的配置,这恰好是 NixOS configuration.nix 文件不擅长的事情。
安装
尽管 nix flake 还在试验阶段,但已经越来越多的人切换到了 flake,我也不例外,使用了 flake 来 setup home manager1:
nix flake new ~/.config/home-manager -t github:nix-community/home-manager
这个命令会从 github repo 拉取一个 flake.nix 模板文件下来,大致像这样:
{
  description = "Home Manager configuration of Jane Doe";

  inputs = {
    # Specify the source of Home Manager and Nixpkgs.
    nixpkgs.url = "github:nixos/nixpkgs/nixos-unstable";
    home-manager = {
      url = "github:nix-community/home-manager";
      inputs.nixpkgs.follows = "nixpkgs";
    };
  };

  outputs = { nixpkgs, home-manager, ... }:
    let
      system = "x86_64-linux";
      pkgs = nixpkgs.legacyPackages.${system};
    in {
      homeConfigurations.jdoe = home-manager.lib.homeManagerConfiguration {
        inherit pkgs;

        # Specify your home configuration modules here, for example,
        # the path to your home.nix.
        modules = [ ./home.nix ];

        # Optionally use extraSpecialArgs
        # to pass through arguments to home.nix
      };
    };
}
我使用的是 stable channel,所以我将 url 改为对应的 release 版本:
- nixpkgs.url = "github:nixos/nixpkgs/nixos-unstable";
+ nixpkgs.url = "github:nixos/nixpkgs/nixos-23.05";
  home-manager = {
-   url = "github:nix-community/home-manager";
+   url = "github:nix-community/home-manager/release-23.05";
  inputs.nixpkgs.follows = "nixpkgs";
  };
同样在 ~/.config/home-manager 文件夹,新建 home.nix,一个最小的版本如下:
{config, pkgs, ...}: {
  home = {
    username = "kaleo";
    homeDirectory = "/home/kaleo";
    stateVersion = "23.05";
    packages = with pkgs; [
      neofetch
    ];
  };

  programs.home-manager.enable = true;
}
现在我们可以 build 了:
nix build ~/.config/home-manager#homeConfigurations.kaleo.activationPackage
build 成功之后会在 ~/.config/home-manager 下生成 result 文件夹,第一次会需要手动的激活 home manager:
./result/bin/home-manager-generation
退出当前 terminal 重新打开,就可以开始使用 home-manager 了。最常见的两个命令:
home-manager build # build home.nix
home-manager switch # build home.nix 并激活 build 之后的版本
管理
Home manager 有很多方便的用户级别的配置,它们大多在 programs 下面,例如:
 {config, pkgs, ...}: {
   home = {
     ...
   };
   programs.home-manager.enable = true;
+  programs.bash = true;
+  programs.autojump =  {
       enable = true;
       enableBashIntegration = true;
     };
 }
上面的配置将会安装 bash 和 autojump 并自动配置好。然后你就能在 bash 中使用 j 来跳转到不同的文件夹了。是不是异常方便!类似的配置还有很多,你可以通过Appendix A. Configuration Options 看到所有可用的 options。
但当你尝试将你工具箱所有的炫酷工具迁移过来的时候,最终你很可能会拥有一个巨无霸的 home.nix ,这当然是不好的。对此我的方案是做一个简单的拆分,使用 nix import 语句将 home.nix 的配置拆分到不同的文件中去,例如:
# home.nix
 {config, pkgs, ...}: {
   home = {
     ...
   };
   programs.home-manager.enable = true;
   programs.bash = true;
-  programs.autojump =  {
-       enable = true;
-       enableBashIntegration = true; -     };
+  import ./stacks/autojump.nix;
 }


# stacks/autojump.nix
+{
+  enable = true;
+  enableBashIntegration = true;
+}
这样就能保持相对简洁的 home.nix。

-
我的 setup 参照了 nix home mamanger ↩︎